This year, I fell in love with some really cute witch's hats I had seen around, so I decided to make a few to decorate around the house. First I used a couple of pre-made witch's hats, but they were a little expensive so I decided to make my own. Here's how I did it:
For my patterns, I used a plastic toy cone and a plate that were the sizes I wanted for the finished product.

I traced these both onto black poster paper.

Form the cone shape with a lot of hot glue.

Cover the pieces both with black satin (Walmart, $2/yard)


I covered the circle by making a very large stitch around the edges and gathering it over the circle.


The cone was pretty easy, I just made a "finished edge" with a hot glue hem, and then attached that side last.


Tuck the ends inside the bottom of the cone and secure well with hot glue. (my mom would be so proud with my liberal use of hot glue.) Then apply a generous bead of hot glue all the way around the bottom and stick it onto the center of the circle


Voila!

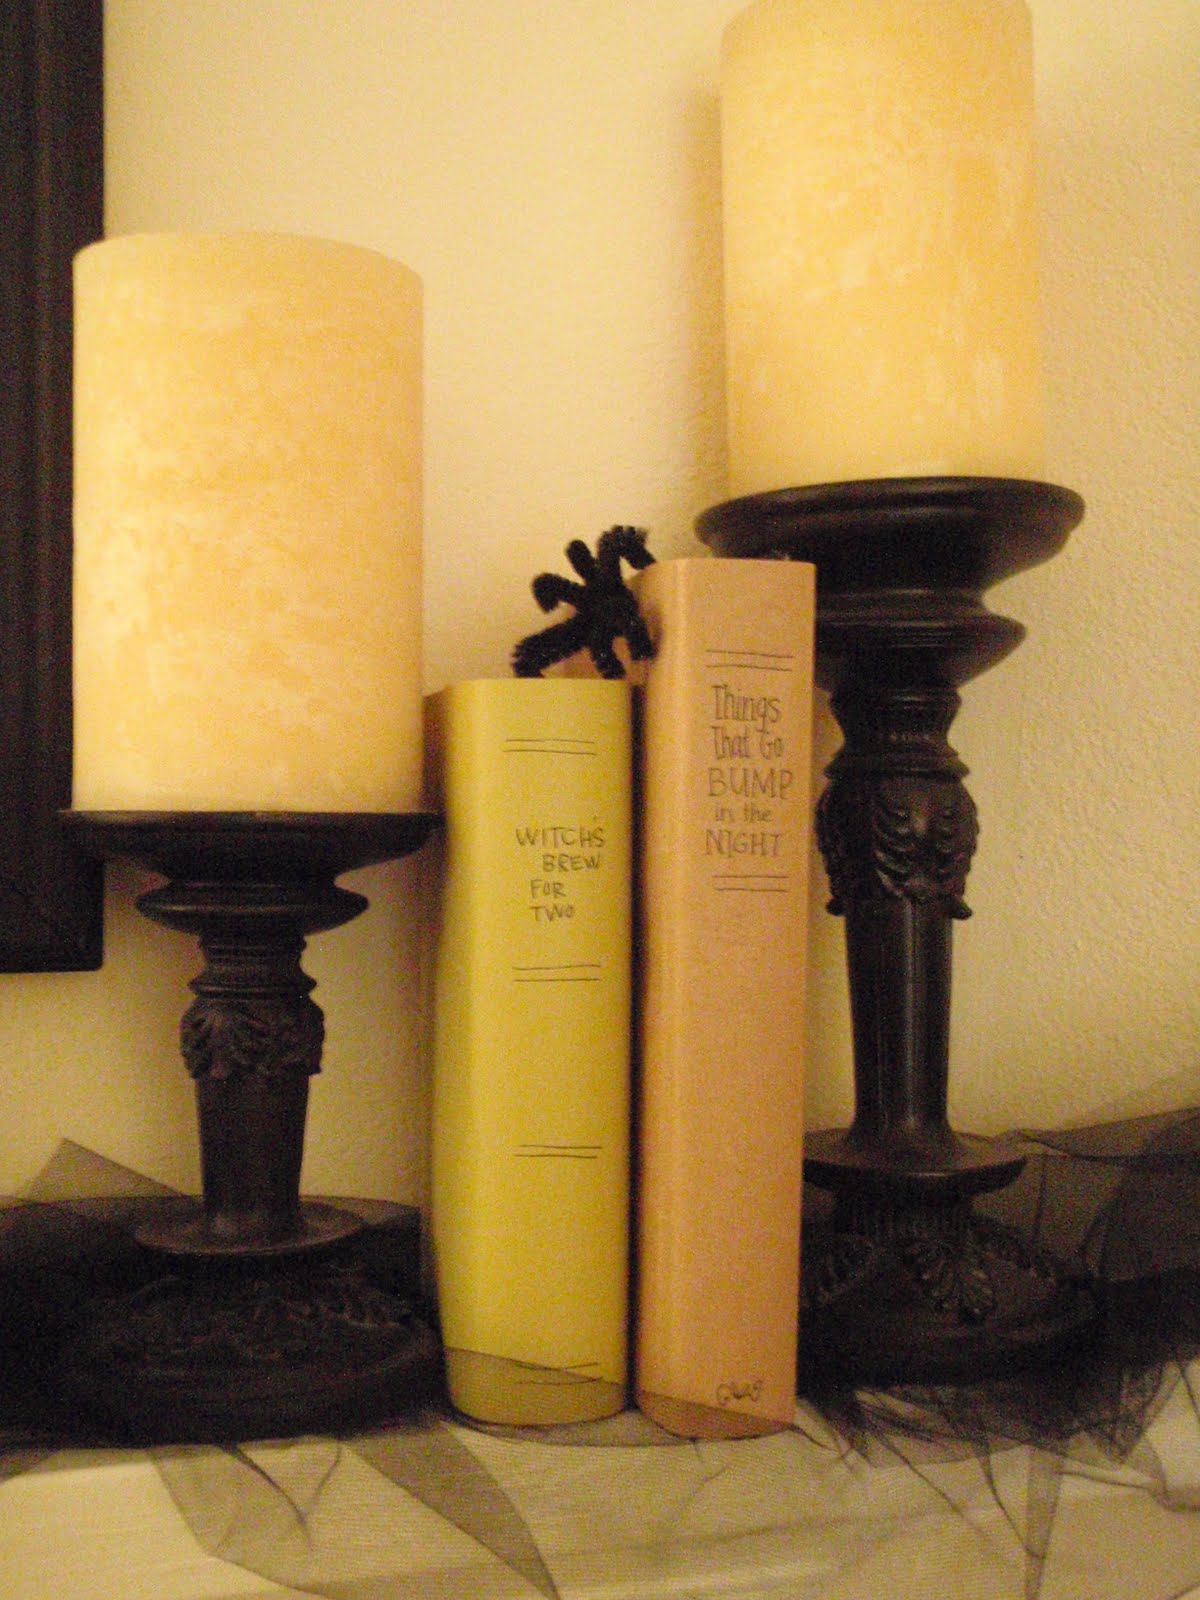
Now, it's time to decorate! I had a few different thing's I'd picked up: tulle, sheer fabrics, flowers, feathers and crows. Here are my finished products:

(The first two (below) are pre-made witch's hats that I decorated, the second two are the hats I made, as shown above.)


This last one, I specifically made to go on the mantle, so instead of a full circle on the bottom, I cut the poster board flat on one side so that it will nestle up against the wall. It turned out great for what I needed, since my mantle ledge is only about 6 inches wide.
It was fun and I am really enjoying my new Halloween decorations!